
Managing Attendance Sessions
The platform uses a unified session-based attendance system. Before taking attendance — whether via QR/biometric scanning or manual entry — you must create an Attendance Session.
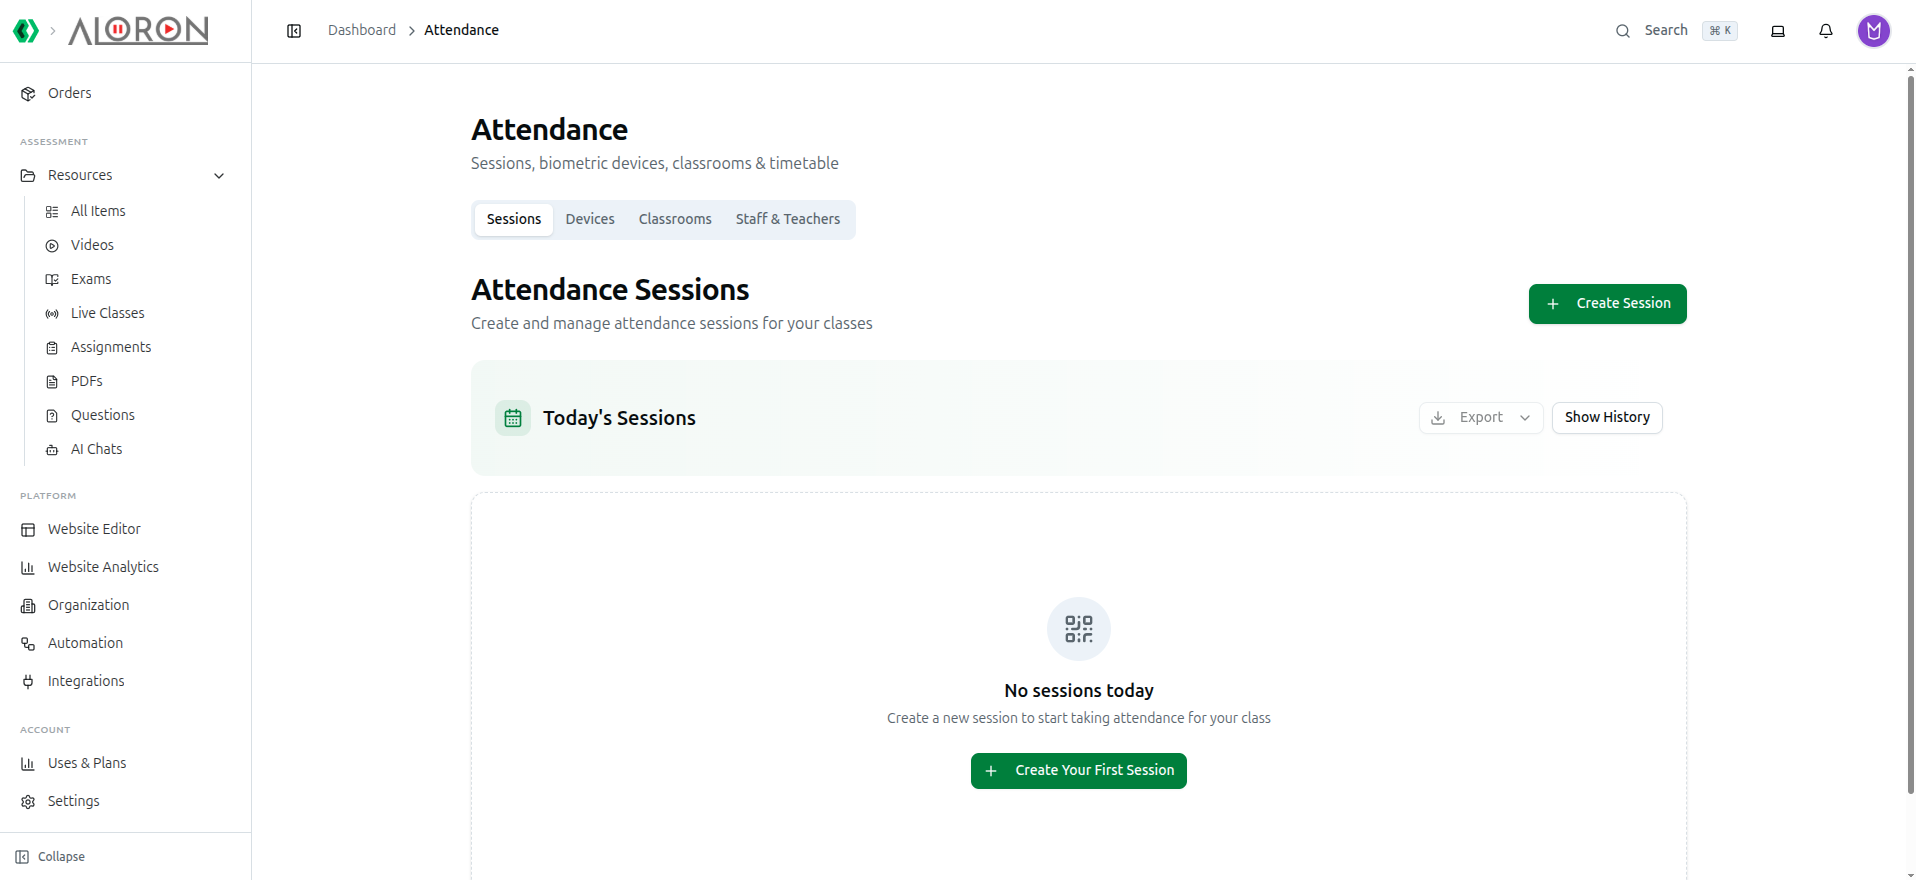
Attendance has four tabs — Sessions (this guide), Devices, Classrooms, and Staff & Teachers — see Manage Classrooms and Devices for the other two.
Step 1: Create an Attendance Session
Click Create Session, pick a course and at least one batch, adjust the date/times and grace period, then click Create Session to schedule it.
Full field-by-field walkthrough: Create an Attendance Session
Step 2: Start a Session
A new session sits as Scheduled until you click Start Session on its card — that's when QR/biometric scanning actually opens up.
Full walkthrough: Activate a Session
Step 3: View Session History
Click Show History to filter past sessions by date, or use the Export dropdown to download a summary or absent-students CSV across the sessions currently listed.
Full walkthrough: View Session History
Step 4: End a Session
Once class is over, click End Session to finalize the record — you can optionally notify everyone still unmarked, and every remaining Pending student is locked in as Absent.
Full walkthrough: Complete a Session
Deleting a Session
Any session card's ⋮ menu has a red Delete Session option. The confirmation warns you how many attendance records will be deleted along with it — this cannot be undone.
Related: Create an Attendance Session · Activate a Session · View Session History · Complete a Session · Manage Classrooms and Devices