
Step 2: Start a Session
A new session sits as Scheduled until you begin it.
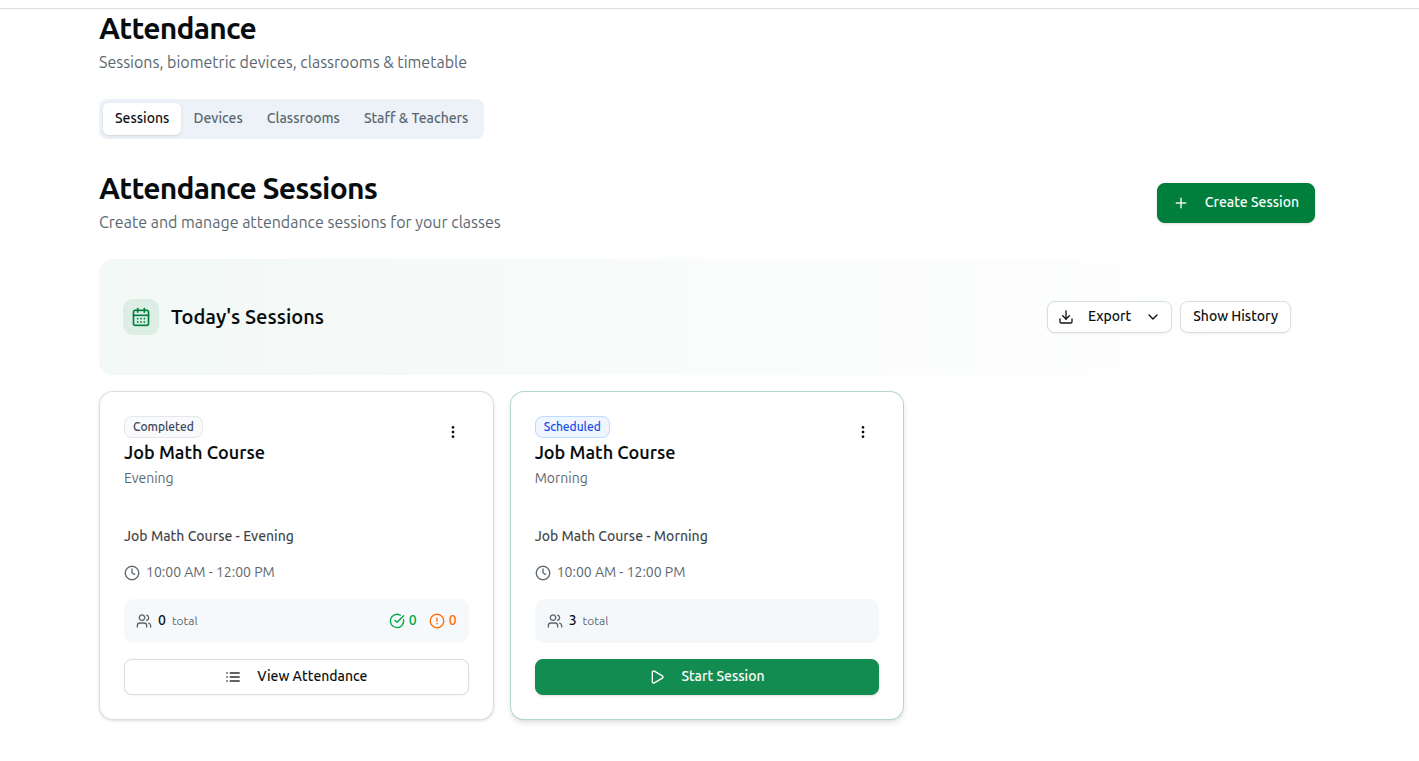
- Find the session card under Today's Sessions (or in history, if it's from an earlier date).
- Click Start Session on the card. An earlier version of this guide called this button "Activate Session" — the real label is "Start Session."
- A toast confirms "Session activated - Ready to scan!" and you're taken straight to that session's Scan tab (
?tab=scan), where QR/biometric scanning and manual marking become available.
Once a session is Active, its card changes to three buttons instead of one: View (opens the session's attendance list), Scan (jumps back to the scan tab), and End (see Complete a Session).
Related: Create an Attendance Session · Managing Attendance Sessions