
Save Template and Export PDF sit together in the top-right toolbar of both the editor and the preview page — but they do different jobs, and the order you use them in matters.
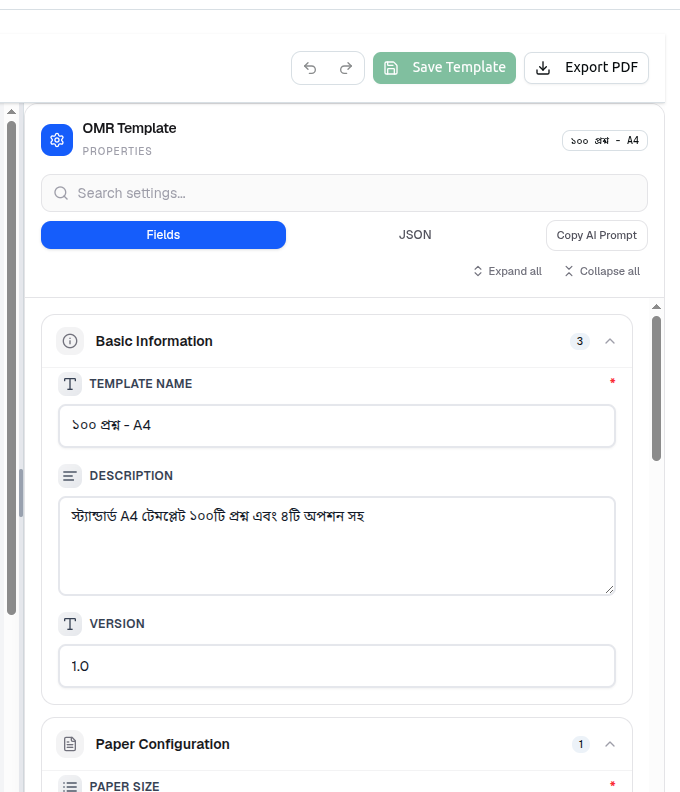
Save Template
Saving does not just store your form values. Behind the button, Course37:
- Generates the bubble coordinates — the exact
x,y,widthandheightof every bubble, calculated from your paper size, question count and layout choices. - Validates them — checking the layout actually fits the page.
- Stores the result, only if validation passes.
Success confirms Template saved with coordinates generated!
Nothing is stored until the coordinates check out. If your question count and paper size are incompatible, the save is rejected with a coordinate validation error rather than silently saving a broken template. This protects you from a template that would misread every sheet — but it means the fix is to change the paper size or question count, not to retry the save.
Save Template stays disabled until two things are true: Template Name is filled in, and something has actually changed. An Unsaved changes badge next to the title tells you when the second condition is met.
Export PDF
Export PDF turns the current design into a printable file, sized to match the template — A4 templates export at A4, others at Letter.
Available from three places:
- The editor, so you can check a layout before committing it.
- The preview page, for a clean read-only copy.
- Anywhere else a printed sheet is needed, generated fresh from the saved template.
Export what you have saved, not what you are currently editing. If you change a setting and export immediately without saving, you get a PDF of your live edit — which is fine for checking, but if you close the editor without saving, that exact version is gone. Save first if the layout is one you want to keep.
The Recommended Order
- Build the layout.
- Save Template — this is also your validation step; if the layout does not fit, you find out here.
- Export PDF and print one sheet.
- Check it by eye: registration marks solid, bubbles separated, text sharp, nothing cut off.
- Photocopy that one sheet once, and check it still reads clearly — colours and fine lines are the first thing a photocopier loses.
- Only then print the full class set.
Skipping straight to a full print run is the single most common way to waste a stack of paper — a coordinate mismatch or a scaled printer setting fails identically on sheet one and sheet two hundred.
After Printing
Once sheets are in students' hands, the template that produced them should not change. If you must fix something, do it as a new version:
- Update the Version field under Basic Information.
- Mention the change in Description.
- Save as a distinct template rather than overwriting the one already printed, if any sheets from the old version are still to be scanned.
This avoids the scanner reading old sheets against new coordinates.
Troubleshooting
| What you see | What it means |
|---|---|
| Save Template will not activate | Template Name is empty, or nothing has changed |
| Save fails with a coordinate error | The layout does not fit the paper. Reduce questions or increase paper size |
| The exported PDF does not match what you see now | You exported before saving. Save, then export again |
| A whole batch scans badly after a template edit | Old printed sheets were scanned against a changed template. Keep edited templates as new versions |
| The PDF prints at the wrong size | Confirm Paper Size matches your printer setting, and print at 100% |
Related: Paper and Basic Settings · Create and Preview Templates · OMR Processing