
Complete Guide to Managing the Question Bank
Questions are created from an exam's Questions tab, using Create Question for one at a time or Create Many Questions for a batch.
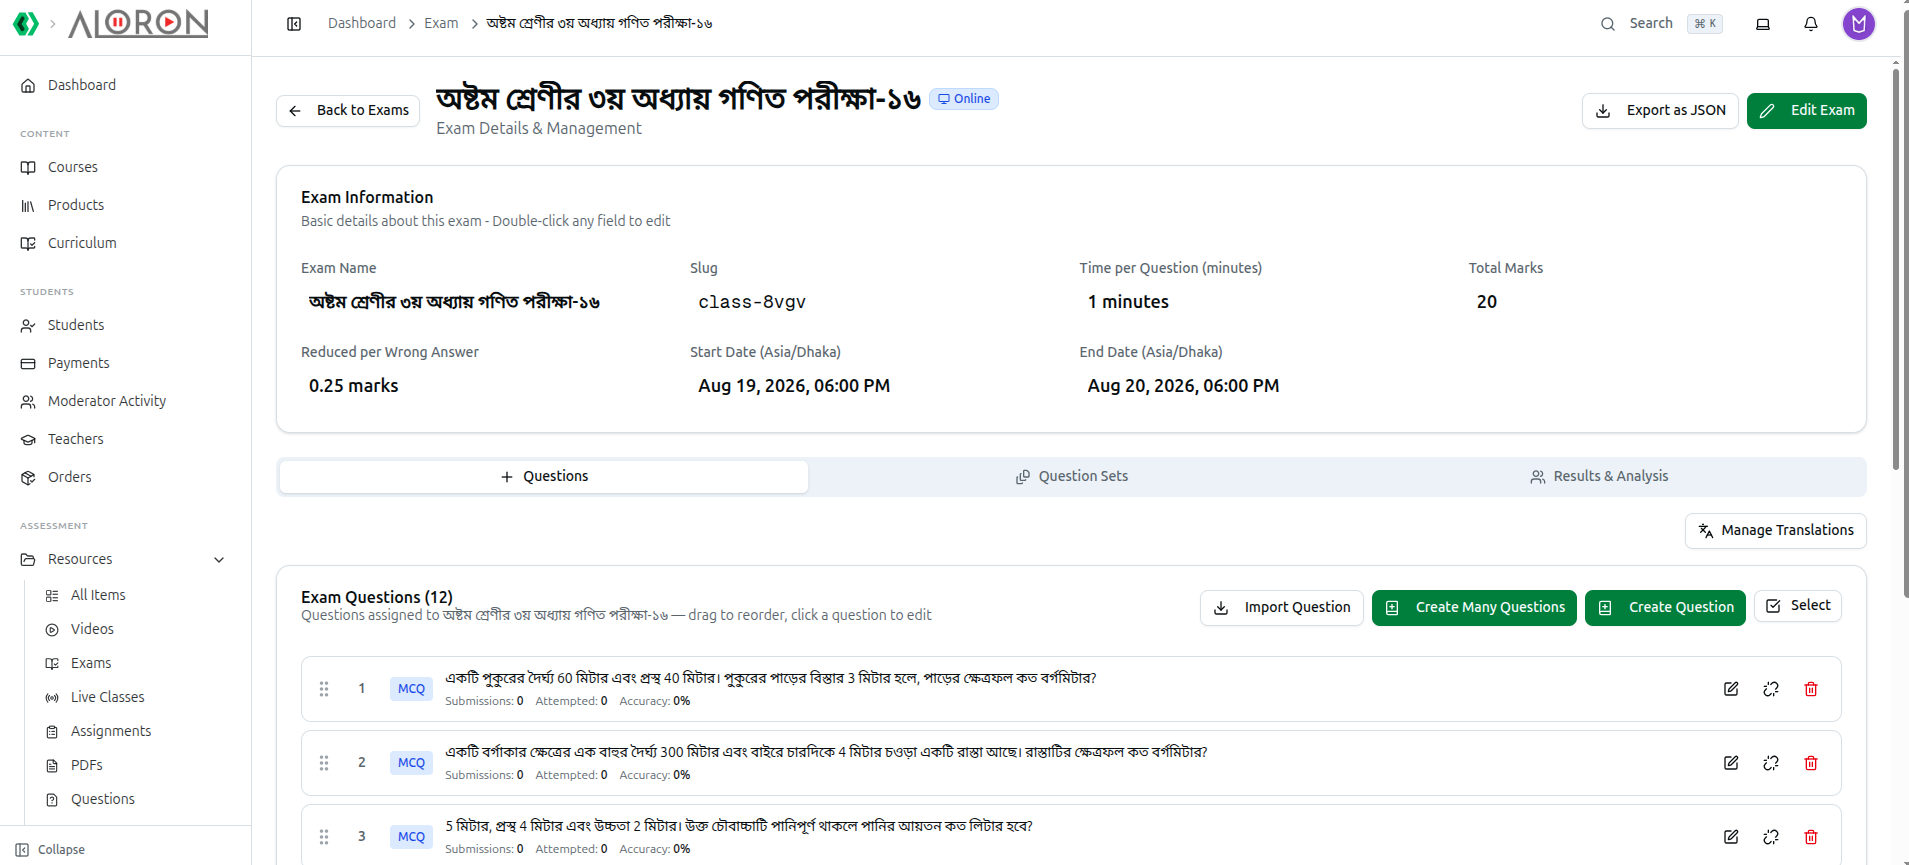
Once created, a question belongs to your organization-wide bank and can be reused in other exams — you are not writing it again for next year's paper.
Each row shows live Submissions, Attempted and Accuracy figures once students have sat the exam, which is the quickest way to spot a question that needs rewriting.
See also: Managing Exams, Questions and Results for the rest of that page, and Question Resources for browsing the whole bank at once.
Your platform features a centralized Question Bank. This means you can create questions once and reuse them across multiple different exams.
How to get here: Look at your left-hand sidebar menu, scroll down to the Assessment section, and click on Questions.
Here is the step-by-step breakdown of how to build and organize your question repository.
1. Creating a Single Question
To manually add a new question to your database, click the green Create Question button in the top right corner. A window will pop up with three main tabs. We will start with the first one.
A. The "Basic Information" Tab
First, choose your Question Type:
MCQ (Multiple Choice):
- Set the Marks, Time (seconds), and Order.
- Type your core prompt in the Question text box.
- Fill in the four option boxes (A, B, C, D).
- CRITICAL: Click the small circle icon next to the correct option to mark it green (e.g., clicking it next to Option B will label it "Correct Answer").
- Add an optional Explanation at the bottom.
SQ (Short Question):
- Click the SQ tab.
- Type your question.
- Type the Expected Answer. (Note: Since this is written, this expected answer serves as a reference guide for whoever is grading the exam).
CQ (Comprehensive / Passage):
- Click the CQ tab.
- Type the main story or paragraph in the Passage/Paragraph box.
- Click the + Add Sub-Question button to attach individual questions (like MCQs or SQs) that relate to this specific passage.
B. The "Educational Hierarchy" Tab
Before you save your question, you need to file it in the right place so you can easily find it later.
- Click the Educational Hierarchy tab in the middle of the popup.
- Use the dropdown menus to assign the question to a specific:
- Education Level (e.g., HSC)
- Group (e.g., Science)
- Subject (e.g., Chemistry)
- Chapter (e.g., Organic Chemistry)
- Topic (e.g., Introduction)
C. The "Topics Management" Tab
What if the "Topic" you want isn't in the dropdown list yet? You can create it right here.
- Click the Topics Management tab.
- Type a Topic Name and an optional Description.
- Click the green + Create Topic button.
- It will now appear below in the "Existing Topics" list and be available in your hierarchy dropdowns.
Once your question is written and categorized, click the green Create Question button at the very bottom to save it!
2. Creating Multiple Questions (Bulk Import)
If you have dozens of questions to add, doing it one by one takes too long. Use the bulk creator.
- From the main Questions page, click the green Create Many Questions button.
- First, set the Education Hierarchy at the top. All questions you are about to import will be assigned to this specific Subject/Chapter/Topic.
Now, choose your import method:
Method A: Raw JSON Import If you have a developer or use an AI tool to format your questions into code, paste the valid JSON array into the top dark box. Click Parse JSON Questions.
Method B: The @ Format (Quick Typing) This is the fastest way to type multiple questions manually.
- Look at the bottom text box labeled "Enter Questions (@ Format)".
- Type your questions using the
@symbol to separate the parts. - Formula:
Question @ Option1 @ Option2 @ Option3 @ Option4 @ CorrectAnswer(A/B/C/D) @ Explanation - Example:
What is 2+2? @ 3 @ 4 @ 5 @ 6 @ B @ Four is the correct answer - Press Enter to start a new line for the next question.
- When finished, click Parse Questions.
(Pro-Tip: You can also click the Generate with AI button here to have the system automatically create a batch of questions for the selected topic!)