
6. AI & LLM (AI models for intelligent features)
Before you can use the AI Chat assistant, you must configure at least one AI provider.
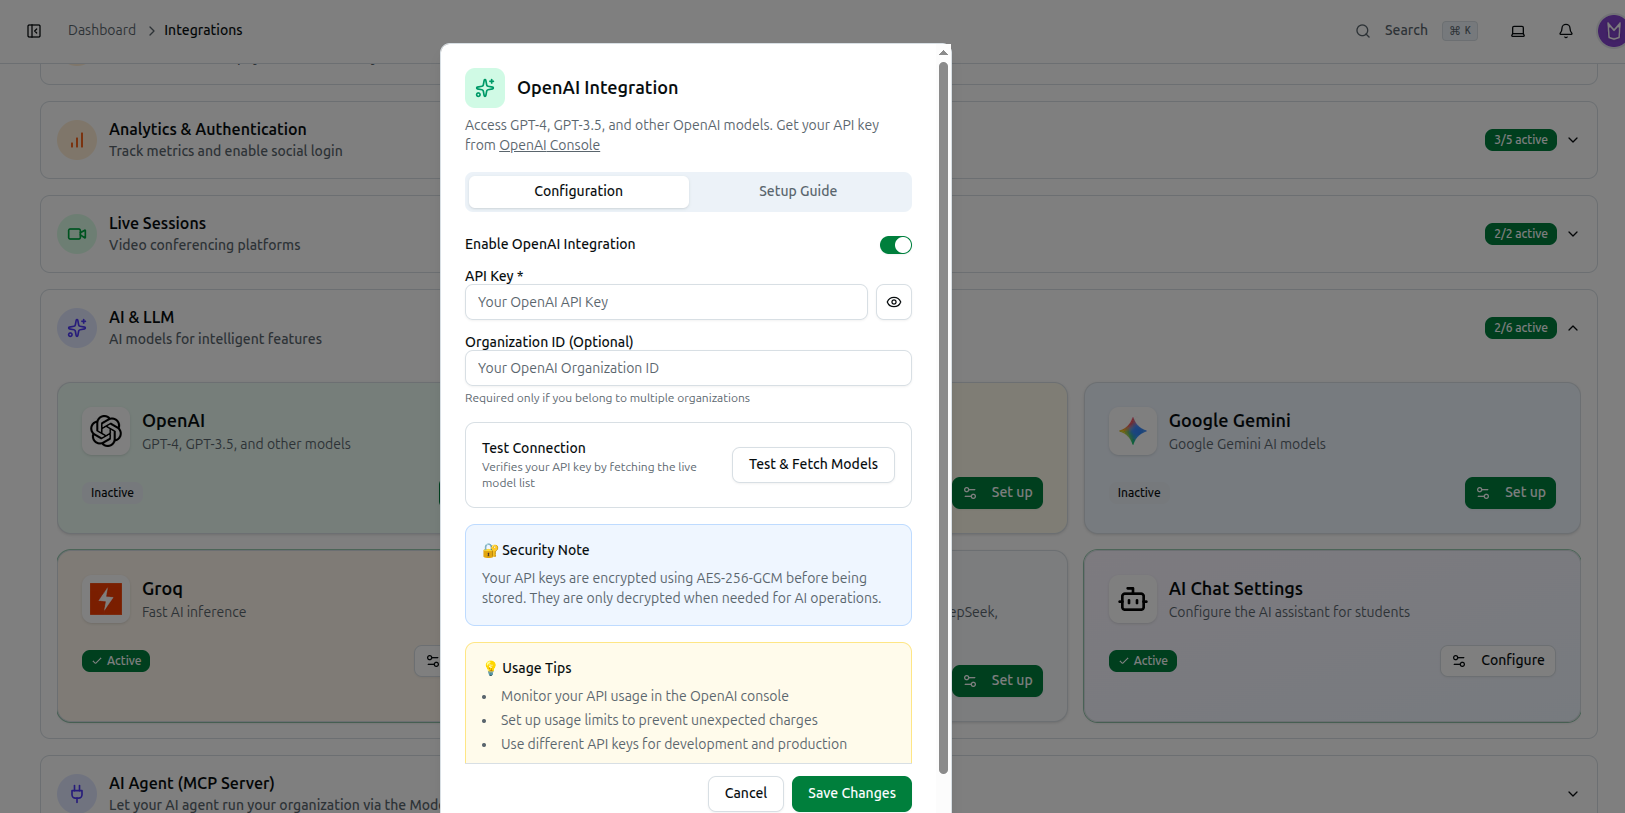
Every card in this category — OpenAI, Anthropic Claude, Google Gemini, Groq, and Custom Provider — opens the same dialog, just pre-filled for that provider:
- Click Configure (or Set up) on the card.
- Toggle Enable [Provider] Integration on.
- Enter your API Key — get it from the linked console (e.g. OpenAI Console). OpenAI also shows an optional Organization ID, needed only if you belong to multiple OpenAI organizations.
- Click Test & Fetch Models in the Test Connection box. It calls the provider's live model list and shows one of three results: a green box listing the models available (and a reminder to pick one in AI Chat Settings), an amber box if the key works but the provider doesn't publish a model list (you'll type the Model ID manually later), or a red box with the connection error.
- Read the 🔐 Security Note — API keys are encrypted with AES-256-GCM before storage — and the 💡 Usage Tips (monitor usage in the provider's console, set spending limits, use separate keys for dev/production).
- Click Save Changes.
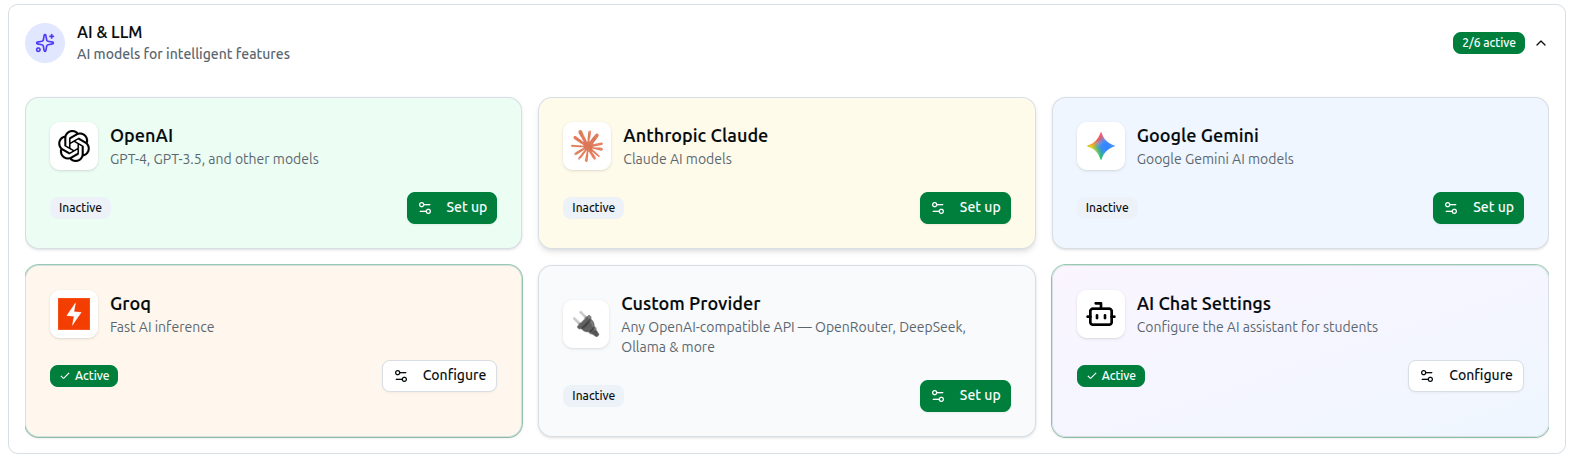
An earlier version of this guide listed a "Voyage AI" card that does not exist, and omitted the real fifth provider, Custom Provider. Custom Provider connects any OpenAI-compatible API — OpenRouter, DeepSeek, Together, Fireworks, Ollama, LM Studio, and more — and its dialog adds two extra fields before the API Key: a Provider Name (a friendly label, e.g. "OpenRouter") and a Base URL (the API endpoint, e.g.
https://openrouter.ai/api/v1orhttp://localhost:11434/v1for a local Ollama server).
AI Chat Settings (You must enable at least one provider above first — otherwise this dialog just shows "No AI Providers Configured".)
- Find the AI Chat Settings card and click Configure.
- The dialog has one tab, Student AI — configure whether students can chat with an AI assistant about their enrolled courses, payments, exam results, and assignments.
- Toggle Enable AI Chat for Students, pick an AI Provider from the ones you enabled, and choose a Model. The model list is fetched live from that provider; if none of the curated models match what came back, pick from the live list, or switch to manual entry to type an exact Model ID yourself.
- Click Save Changes.
There is no separate "Admin AI" tab. An earlier version of this guide described one — it doesn't exist in the interface. Only student-facing AI chat is configured here.
Related: Managing Integrations