
The Instructions block is the yellow-bordered panel printed on every sheet, telling students how to mark their answers correctly — and showing them, visually, what a wrong mark looks like.
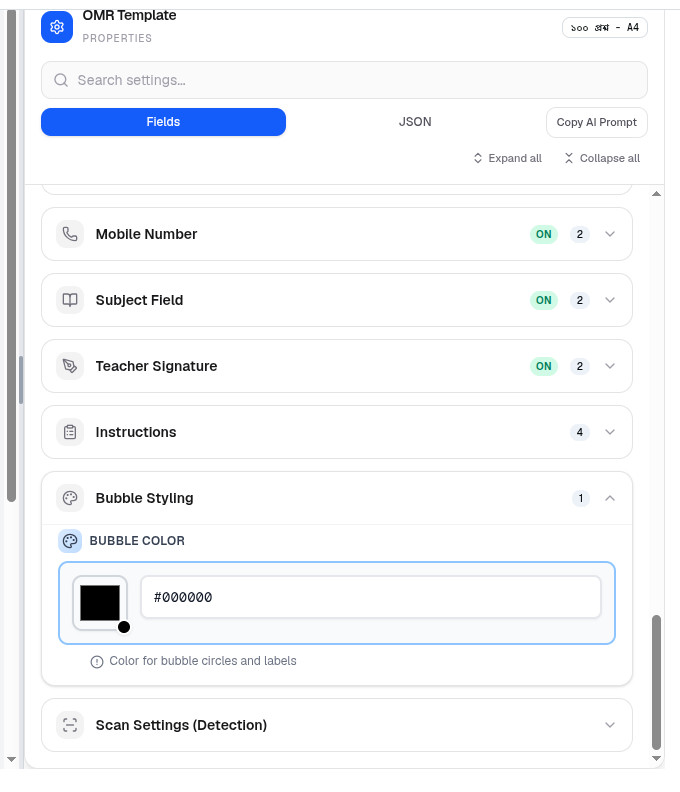
The Instructions Section
Four settings.
| Field | What it does |
|---|---|
| Instructions Title | The heading above the rules, such as পরীক্ষার্থীদের জন্য নির্দেশনা |
| Instructions | The list of rules itself — an array, so each line is a separate entry you can add, edit or remove |
| Correct Method Label | The caption beside the "this is right" example |
| Incorrect Method Label | The caption beside the "this is wrong" examples |
Typical rules cover: fill circles completely, use a black pen or pencil, mark only one answer per question, and do not fold or crease the sheet — the same four points shown in earlier screenshots' preview.
The Correct and Incorrect Examples
Next to the rules, every sheet prints two small visual examples so instructions do not rely on students reading carefully.
Correct Method shows one solid filled circle beside your Correct Method Label text.
Incorrect Method shows your Incorrect Method Label text beside four fixed symbols: ⊗ ✓ ✗ ✕ — an unfilled circle, a tick, and two styles of cross. These represent the common wrong ways to mark: a hollow circle, a tick instead of a fill, and a cross instead of a fill.
The four incorrect symbols are fixed — you can only relabel the caption, not the symbols themselves. Only Correct Method Label and Incorrect Method Label are editable text. The icons are built into the template and print the same on every sheet, in every language.
The correct-method dot is not tied to your Bubble Color setting. It is a fixed dark grey, independent of whatever colour you chose under Bubble Styling. If your actual bubbles print a different colour, the example dot in the instructions will not match them exactly — this is expected, not a bug, and does not affect scanning.
Writing Good Instructions
Keep each rule short — this panel is compact by design, sitting beside the answer key legend rather than taking a full page. Four to six lines is typical:
- Use a black or dark blue pen/pencil.
- Fill the circle completely.
- Mark only one answer per question.
- Do not fold, tear, or write outside the marked areas.
- Erasing is not reliable — mark carefully.
Add a rule with the array's + control, and remove one with its delete icon, the same pattern used throughout the properties panel.
Bubble Styling, Briefly
Bubble Styling sits directly below Instructions and controls Bubble Color — the colour of the actual answer circles students fill in, everywhere on the sheet.
This is covered in full, alongside Table Border Color, in Visuals and Language Settings. The one thing worth repeating here: keep it dark and test it through a photocopier, since these are scanning targets, not decoration.
Troubleshooting
| What you see | What it means |
|---|---|
| The incorrect-method symbols look odd or unfamiliar to students | They are fixed — ⊗ ✓ ✗ ✕ — only the caption text can be changed |
| The example dot colour does not match your bubbles | Expected. The example dot is a fixed colour, independent of Bubble Color |
| Instructions run off the bottom of their box | Shorten the rules — the panel is a fixed compact size, not a full page |
| Students are marking incorrectly despite instructions | Make the rules more concrete — "fill completely" rather than "mark clearly" |
| No instructions print at all | The Instructions array is empty. Add at least one rule |
Related: OMR Visuals and Language · Headers and Student Fields · OMR Processing