
4. Analytics & Authentication
Connect to Google and Meta to track success and allow easy logins.
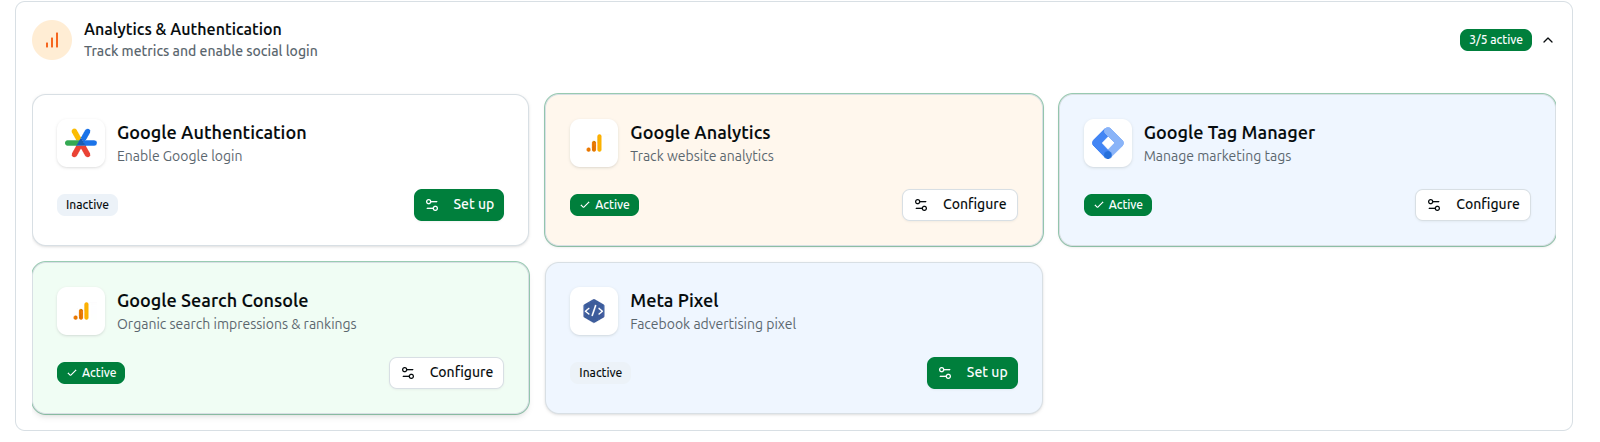
A. Google Authentication (Login)
- Find the Google Authentication card and click Configure.
- Copy the Google OAuth Callback URL shown in the blue box. Add this exact URL to your "Authorized redirect URIs" inside your Google Cloud Console.
- Toggle Enable Google Authentication to the 'on' position.
- Enter your Client ID and Client Secret.
- Click Save Changes.
B. Google Analytics
- Find the Google Analytics card and click Configure.
- Toggle Enable Google Analytics to the 'on' position.
- Enter your Google Tag ID (starts with G-).
- To show analytics inside your LMS dashboard, enter your GA4 Property ID. Then follow the instructions to grant 'Viewer' access to the specific service account email address shown on your screen.
- Click Save Changes.
C. Google Tag Manager
- Find the Google Tag Manager card and click Configure.
- Toggle Enable Google Tag Manager to the 'on' position.
- Enter your Container ID (starts with GTM-).
- Click Save Changes.
D. Google Search Console
- Find the Google Search Console card and click Configure.
- Toggle Enable Search Console Integration to the 'on' position.
- Enter your Site URL.
- Read the Setup Instructions box. You must copy the provided service account email and add it to your Google Search Console settings with "Full access".
- Click Save Changes.
E. Meta Pixel
- Find the Meta Pixel card and click Configure.
- Toggle Enable Meta Pixel to the 'on' position.
- Enter your Pixel ID.
- Click Save Changes.
Related: Managing Integrations